↑↑↑ 해당 내용 전편 ↑↑↑
버튼을 눌러 서버에 접속하기
1. 플레이 버튼 생성하기
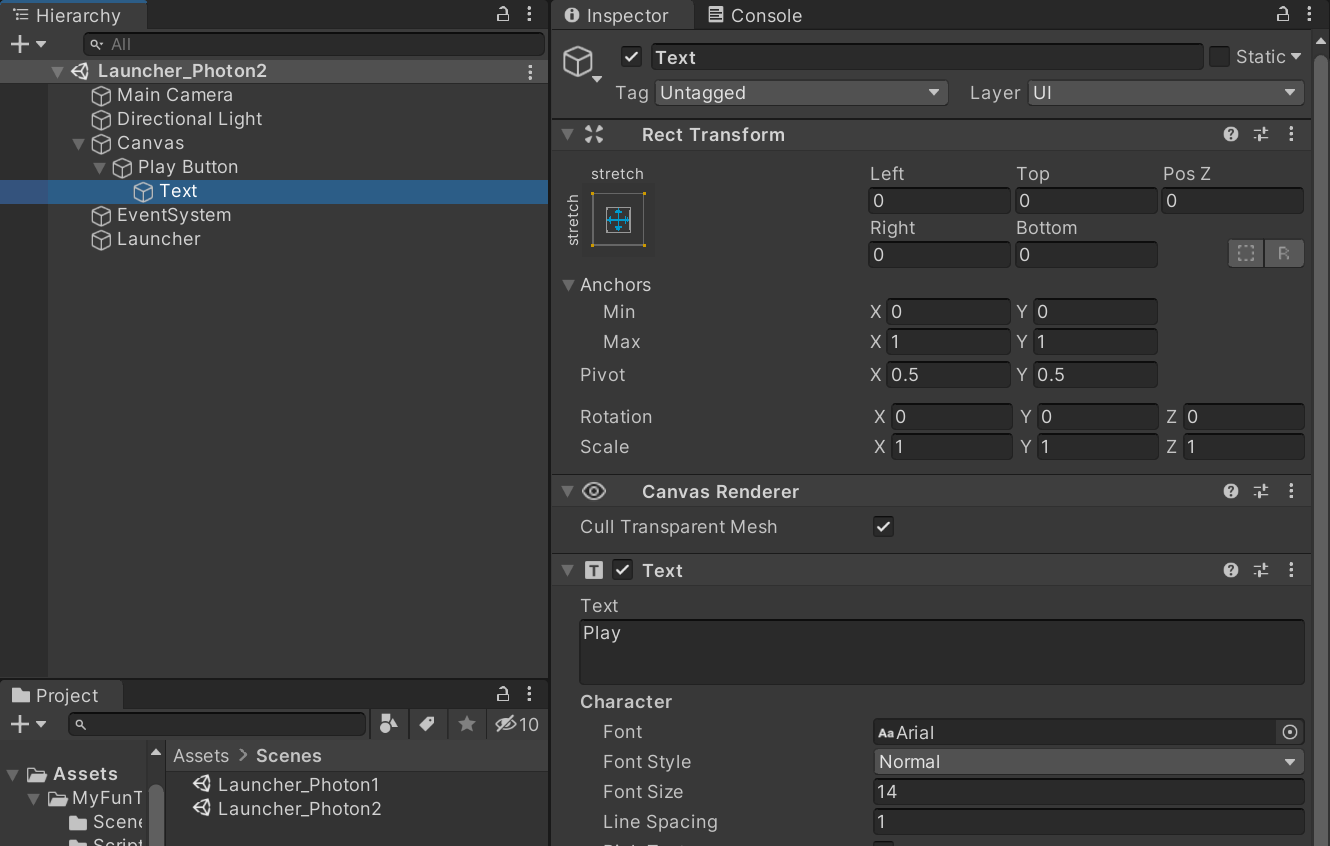
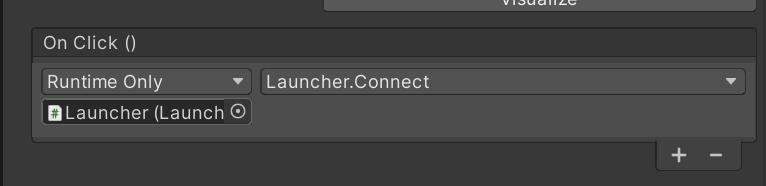
2. 버튼에 스크립트 함수 연결하기
3. Launcher 스크립트 수정하기

플레이어 이름 관리하기
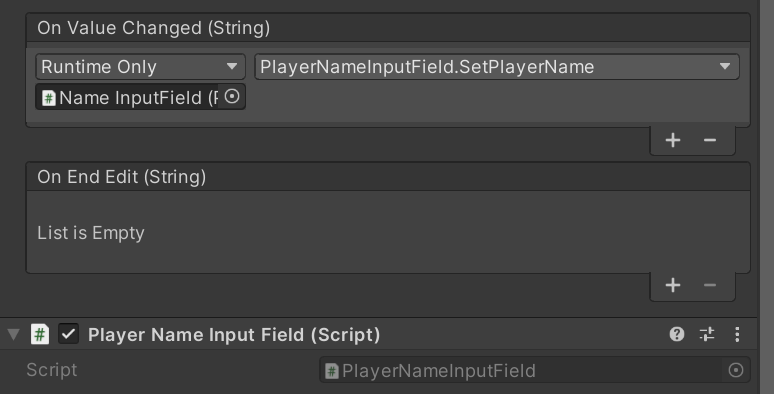
1. PlayerNameInputField 스크립트 생성 후 수정하기
using UnityEngine;
using UnityEngine.UI;

using Photon.Pun;
using Photon.Realtime;
using System.Collections;


namespace Com.MyCompany.MyGame
{
    /// <summary>
    /// Player name input field. Let the user input his name, will appear above the player in the game.
    // 플레이어가 본인의 이름을 지을 수 있는 스크립트
    /// </summary>
    [RequireComponent(typeof(InputField))] //스크립트를 편리하고 빠른 방식으로 제공해줌.
    public class PlayerNameInputField : MonoBehaviour
    {
        #region Private Constants


        // Store the PlayerPref Key to avoid typos
        const string playerNamePrefKey = "PlayerName";


        #endregion


        #region MonoBehaviour CallBacks


        /// <summary>
        /// MonoBehaviour method called on GameObject by Unity during initialization phase.
        /// </summary>
        void Start()
        {


            string defaultName = string.Empty;
            InputField _inputField = this.GetComponent<InputField>();
            if (_inputField != null)
            {
                if (PlayerPrefs.HasKey(playerNamePrefKey))
                {
                    defaultName = PlayerPrefs.GetString(playerNamePrefKey);
                    _inputField.text = defaultName;
                }
            }


            PhotonNetwork.NickName = defaultName; //네트워크상의 플레이어 이름 설정
        }


        #endregion


        #region Public Methods


        /// <summary>
        /// Sets the name of the player, and save it in the PlayerPrefs for future sessions.
        /// </summary>
        /// <param name="value">The name of the Player</param>
        public void SetPlayerName(string value)
        {
            // #Important
            if (string.IsNullOrEmpty(value))
            {
                Debug.LogError("Player Name is null or empty");
                return;
            }
            PhotonNetwork.NickName = value;


            PlayerPrefs.SetString(playerNamePrefKey, value);
        }


        #endregion
    }
}
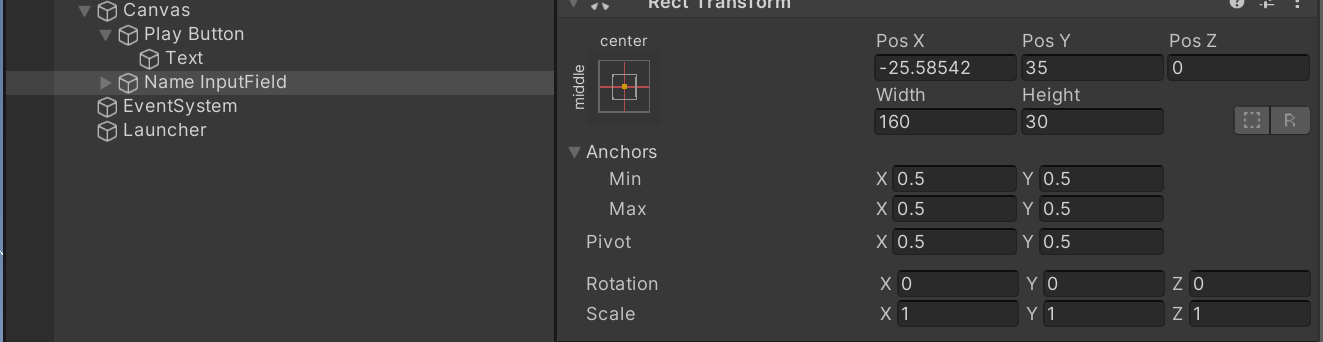
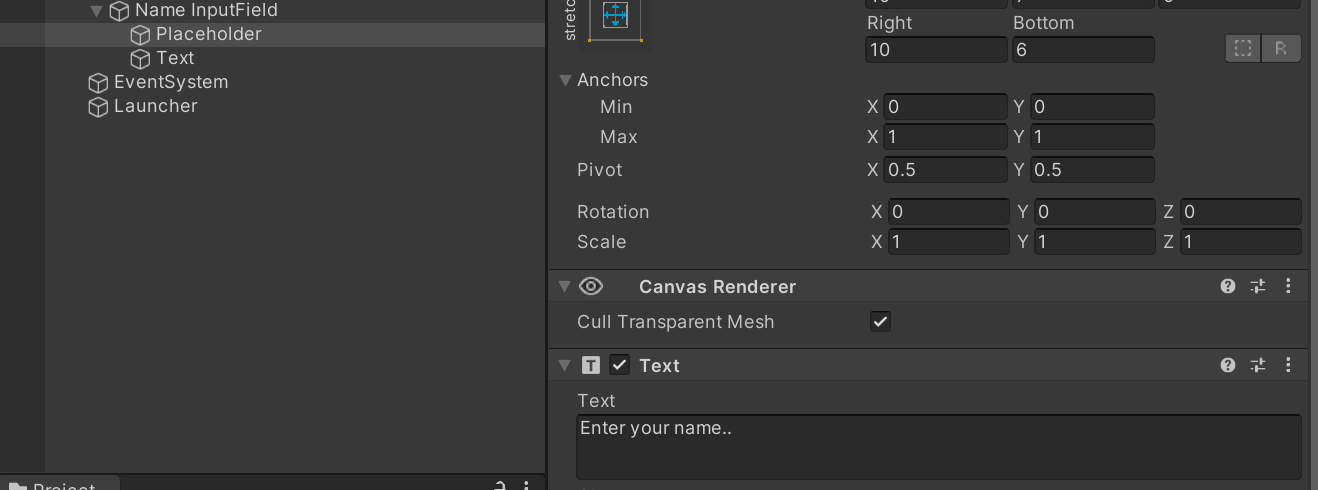
2. Player이름 UI 만들기
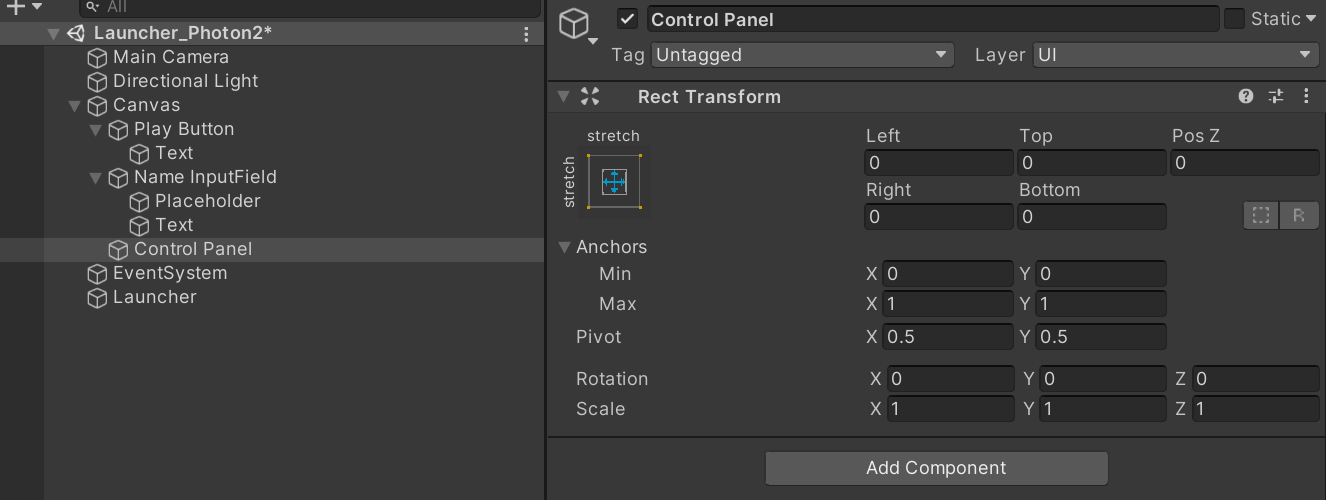
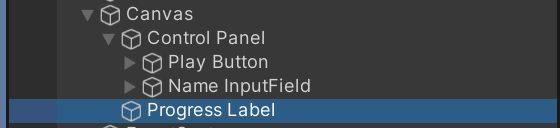
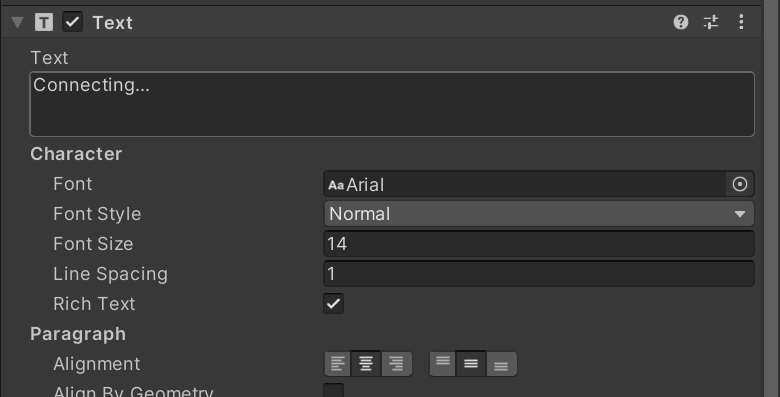
3. 연결 중 표시 UI 생성 후 그룹 정리
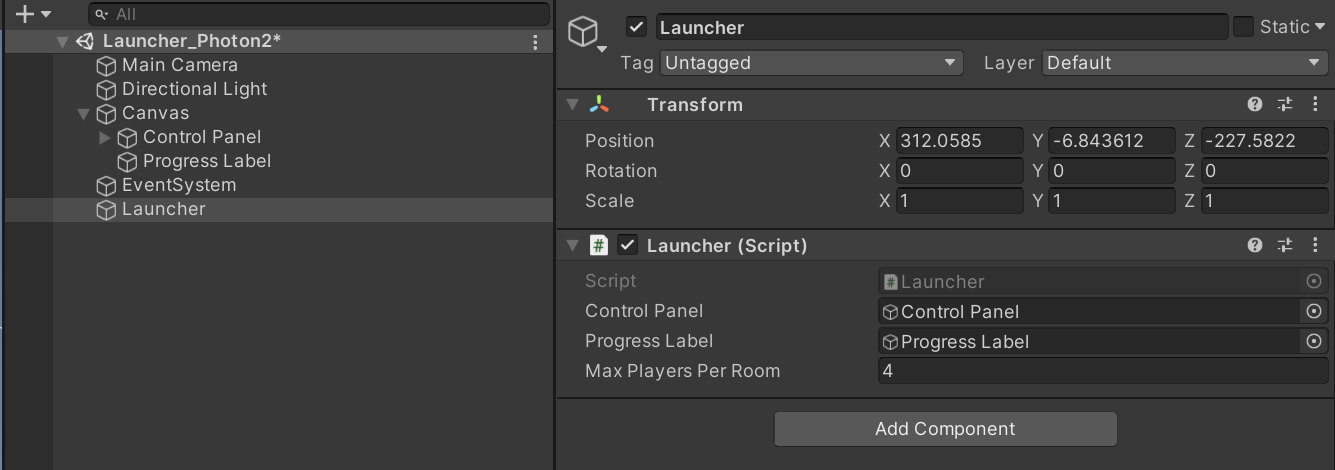
4. Launcher.cs 편집
스트립트 맨 위 상단에 #region Public Fields을 만들고 아래의 코드 입력, 해당 게임오브젝트 변수를 외부에서 참조할 수 있게 함.
(만약 외부에서 변수가 반영이 안 될 경우, 유니티 재시작하기 )
#region Public Fields

        [Tooltip("The Ui Panel to let the user enter name, connect and play")]
        [SerializeField]
        private GameObject controlPanel;
        [Tooltip("The UI Label to inform the user that the connection is in progress")]
        [SerializeField]
        private GameObject progressLabel;

        #endregion
void Start()함수 안에 해당 코드 추가
progressLabel.SetActive(false);
controlPanel.SetActive(true);
Connect()함수 안에 해당 코드 추가
progressLabel.SetActive(true);
controlPanel.SetActive(false);
OnDisconnect()함수 편집
public override void OnDisconnected(DisconnectCause cause) //연결이 안되었을 때
        {
            Debug.LogWarningFormat("PUN Basics Tutorial/Launcher: OnDisconnected() was called by PUN with reason {0}", cause); //casue라는 변수 원인 출력

            progressLabel.SetActive(false);
            controlPanel.SetActive(true);

        }
'Photon' 카테고리의 다른 글
| Pun RPC 호출 스크립트 (0) | 2022.09.29 |
|---|---|
| Unity Photon으로 멀티 서버 구현 - Photon-5(플레이어 생성) (0) | 2022.09.23 |
| Unity Photon으로 멀티 서버 구현 - Photon-4(룸 연결 및 설정) (0) | 2022.09.22 |
| Unity Photon으로 멀티 서버 구현 - Photon-3(룸 생성) (0) | 2022.09.18 |
| Unity Photon으로 멀티 서버 구현 - Photon-1(로비 만들기) (0) | 2022.09.16 |